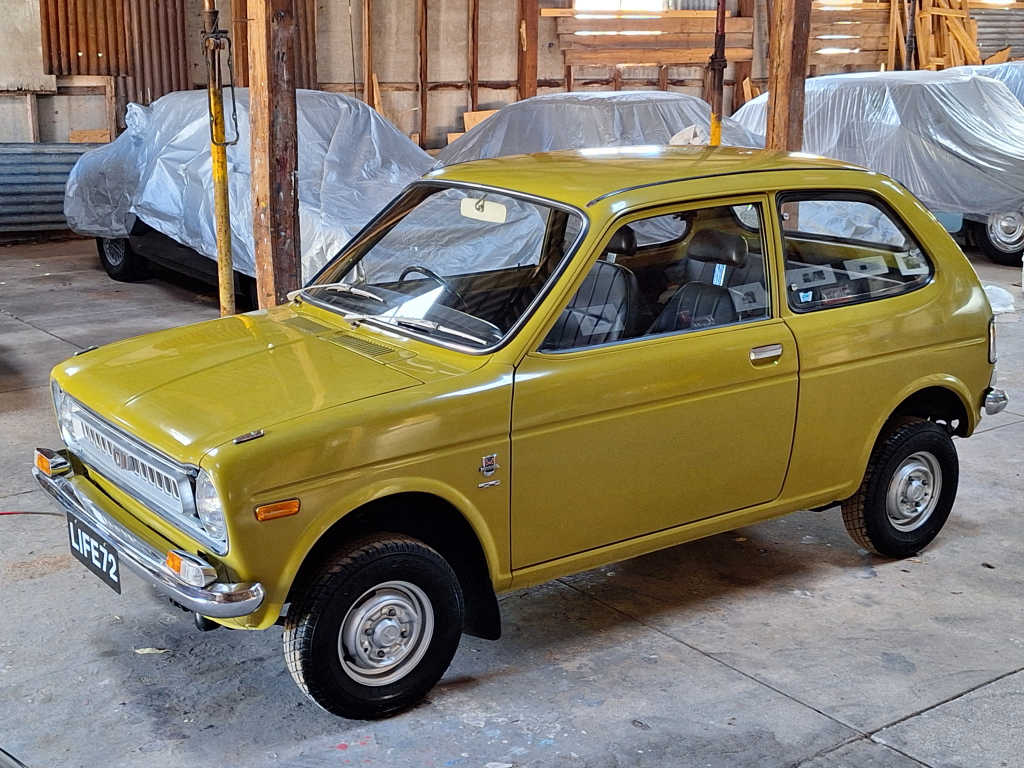
I am a bloke that does all his own work. Simply because it's the only way I know it is done correctly. House renovations, car maintenance, and restorations on my various classics, including this '72 Honda Life.
Nov 16 2022. Today was a classic example. I removed the engine and gearbox, as it was obvious, once the timing belt was removed for replacement, that the crankshaft oil seal needed replacement, but I also wanted to investigate just what had caused the large quantity of rubber 'dust' that was mixed with the oil.
↑Surprise, surprise, the licensed mechanic that had formerly replaced the timing belt and the oil seal had 1) not seated the oil seal fully, so the outer seal lip was chopped out by a keyway in the crankshaft, and 2) he had installed the dished slinger ring back to front, so the outside of the slinger simply chopped away at the side of the timing belt, resulting in a narrowed belt and the large deposit of rubber dust!


↑That's not to mention gearbox attachment bolts that were either missing, or incorrect length bolts used, and a raft of other things I've found that make a bit of a mockery of the amounts charged by him (all documentation for 50 years came with the 67,000 mile car).
Dec 10 2022;

↑I decided to remove the cylinder head, mainly to check internals. The
engine inside is beautiful, other than some sediment buildup in the
coolant passages, which was easily removed with such great access. I love
the way the water jacket completely surrounds the cylinders! This little
car really impresses me with the quality of its engineering and
workmanship, not to mention impeccable design. Note the balance shaft
exposed with the cover removed.

↑A view from the other side of the block. Quality castings, quality little
356cc powerplant!

↑New gaskets and seals where required. I elected not to split the cases,
as everything internally is perfect, including the chain drives to the
balance shaft and oil pump. I stripped the cylinder head, so I could check
and lap the valves and fit new valve seals to the inlets. Valves had a bit
of carbon buildup, but now all removed. Otherwise, they were perfect! No
wear on stems or in guides, and faces and seats just needed the lightest
lap to look perfect. Forgot to photograph it!
Dec 24 2022. Time for some updates!

↑Alternator rebuilt with new bearings. The old ones were a bit dry and
noisy. Brushes and sliprings still good, so left them.

↑Front axles have come up beautifully! New CV boots, new special grease,
new O rings and seals.Bearings were perfect, so have been left.

↑Lots of new parts have arrived from, of all places, Indonesia. Thanks
Charles Kurniawan; you are a pleasure to deal with!

↑I thought this rounded off bolt on the flywheel had me beaten! Good
old-fashioned work with cold chisel and drift finally got it loose.
Needless to say, 6 new bolts are on order!


↑Front seat covers removed. As you can see, they're not useable! Presently
getting quotes from upholsters...the only part of restorations I don't do
myself, although I think that may change. (Edit; check out the amazing job
done on these seats by Alan at Oztrim in Ballarat!)

↑Whew! The gearbox is a work of engineering art, but it sure pushed me to
my limits! Now as good as new with new bearings and seals throughout. The
mainshaft and layshaft bearings were just starting to collapse, causing
roughness and noise, but it was caught in time, with no damage to pristine
gearsets, or internal roller bearings. It's perfect now; silent, freely
rotating, but absolutely no discernible play in the shafts.

↑And here's the engine after its minor rebuild reunited with the gearbox,
with a brand new genuine clutch in between.


↑The car had a couple of minor
panelwork issues, which I saw at the initial inspection. Basically very
minor damage, but very poor repairs. These are now being rectified, as
well as the undercarriage being pressure washed, repainted, and rear
brakes, bearings and seals being done.


↑I didn't think to photograph the careful panel beating I did to the right
hand inner guard (previously roughly done after an obvious small parking
lot altercation), or even the engine having a partial rebuild where
needed, but hours with my faithful 30yo hammer and dolly set, and
subsequent priming and painting (thanks to JD Paints of Ballarat for an
amazingly perfect color match from the petrol filler flap I gave them) got
the engine bay perfectly ready to accept the carefully rebuilt engine,
gearbox, driveshafts and subframe. Looking much better than it did!
Early December 2023, and the motor trimmer finally phoned to say it's my turn! So in a month or so I'll have completely new vinyl on the seats. The originals were totally gone, mainly due to the effects of UV and the passage of 50 years.
I had originally planned to just do minor paintwork touchups to the body, as the original paint was in remarkable condition. However the myriad small dents all over the body, especially the roof which must have had a child once climb up on it, or a bloody big cat jump down from garage rafters, were going to drive me nuts. I'd spent days with a paintless dent removal kit some months back getting it almost perfect, but I just knew I wouldn't be happy unless I got it perfect.
That made the whole job a lot, lot bigger, as all glass, rubber seals, interior linings etc etc had to be removed, but it gives me chance to put all new rubbers and seals throughout, which, with the full respray and full interior retrim, will have the little Honda looking just as it did when it left the Honda factory half a century ago, and in the same mechanical condition.
I just can't help myself...one day I'll get a life, but at least I'll have a lovely Life!